This Week's Tip: Making Animations with Movie Maker
Over the past couple of weeks I have been dabbling with animations with my students. As this is a first time for me, I have been doing a lot of learning alongside the kids. As a result, it's probably been a longer than usual process as we trouble-shoot and work things out together. Today I want to break it down a little so that you can save some time if you give it a try.
WARNING: This explanation assumes some basic knowledge of Windows Movie Maker, and is a starting point for amateur animations.
Creating Characters and Setting
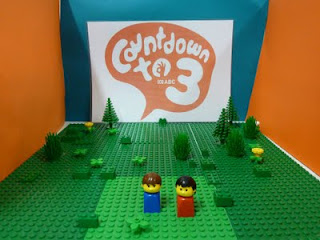
- Provide a variety of resources for students to use in creating their characters and setting - playdough, lego, stuffed toys, paper, whiteboards etc.
- Have students plan out and rehearse the way they would like to move these objects.
Taking Photos
- Explain to students that everything they see in the frame will be in the movie. It sounds basic, but I had a number of photos that included walls, tables, power cords etc - they imagined they could get rid of all this later.
- Make sure the camera battery is charged (and recharged) and that you have enough time to take all the shots for the sequence.
- Be aware of the light in the room as changes will be evident in the photos.
- Use a tripod if possible to limit the movement of the camera.
- For a 15-30 second promo we used about 80 photographs, but our movements were a bit jumpy.
Writing Scripts
- Support students with finding the words to get their message across most effectively
- Encourage them to rehearse their script and time it to see how long it will need to be
Recording Audio
- This can be done in Windows Movie Maker as students watch their completed movie in the preview frame. This allows them to time the two as much as possible.
- If pushed for time, you can begin recording the script in Audacity prior to movie production in Windows Movie Maker. This also allows students to edit the audio and cut out errors. Export it as a WAV and then you simply import the audio at a later time.
Storing Pictures
- Before you start using Movie Maker, it is important to upload photos to a place where you will be able to easily find them and access them throughout the project. DO NOT MOVE THESE FILES ONCE YOU START. If you move the pictures, the program will not be able to find them and they will show up as a red X on your storyboard.
Importing Pictures
- If your camera has captured large images (in terms of mb) you will want to resize them so that Movie Maker doesn't strain under the size. I do this in Windows Photo Gallery so that I can resize the whole group at once. (I'm not sure how else you might do a bulk resize. Any suggestions?)
- Click on Import Pictures and select the pictures you would like to use.
Moving Pictures onto the storyboard/timeline
- BEFORE you begin slotting images onto your storyboard, you will want to change the settings for the length of time these will play. This is a BIG time-saver! If you fail to do this, you will be shortening each picture individually (a HUGE time-waster) 1. Click on Tools/Options, 2. Click on the Advanced tab, 3. Select your desired picture duration and transition duration
- To change the length of individual slides, select the Timeline view, click on the image you want to change and drag one of the sides
- If students want to have a repeated action, they will need to repeat the action slides (basic I know, but they still needed to be told!)
- SAVE, SAVE, SAVE - I can't say it enough - we've had SO many Movie Maker crashes and it is very disheartening if students lose their work because they didn't take a moment to save it regularly.
- Add in the audio and make sure it is well timed with the animation
- Add in any desired titles/effects


No comments:
Post a Comment
I'd love to hear your thoughts and questions. Please don't be shy...
:)